Welcome to our step-by-step guide on creating a new site within our system. Whether you're a new user setting up your first site or an existing user looking to add another site to your portfolio, this article is designed to walk you through the process smoothly.
Getting Started
For Users Without an Existing Site
Access the Dashboard:
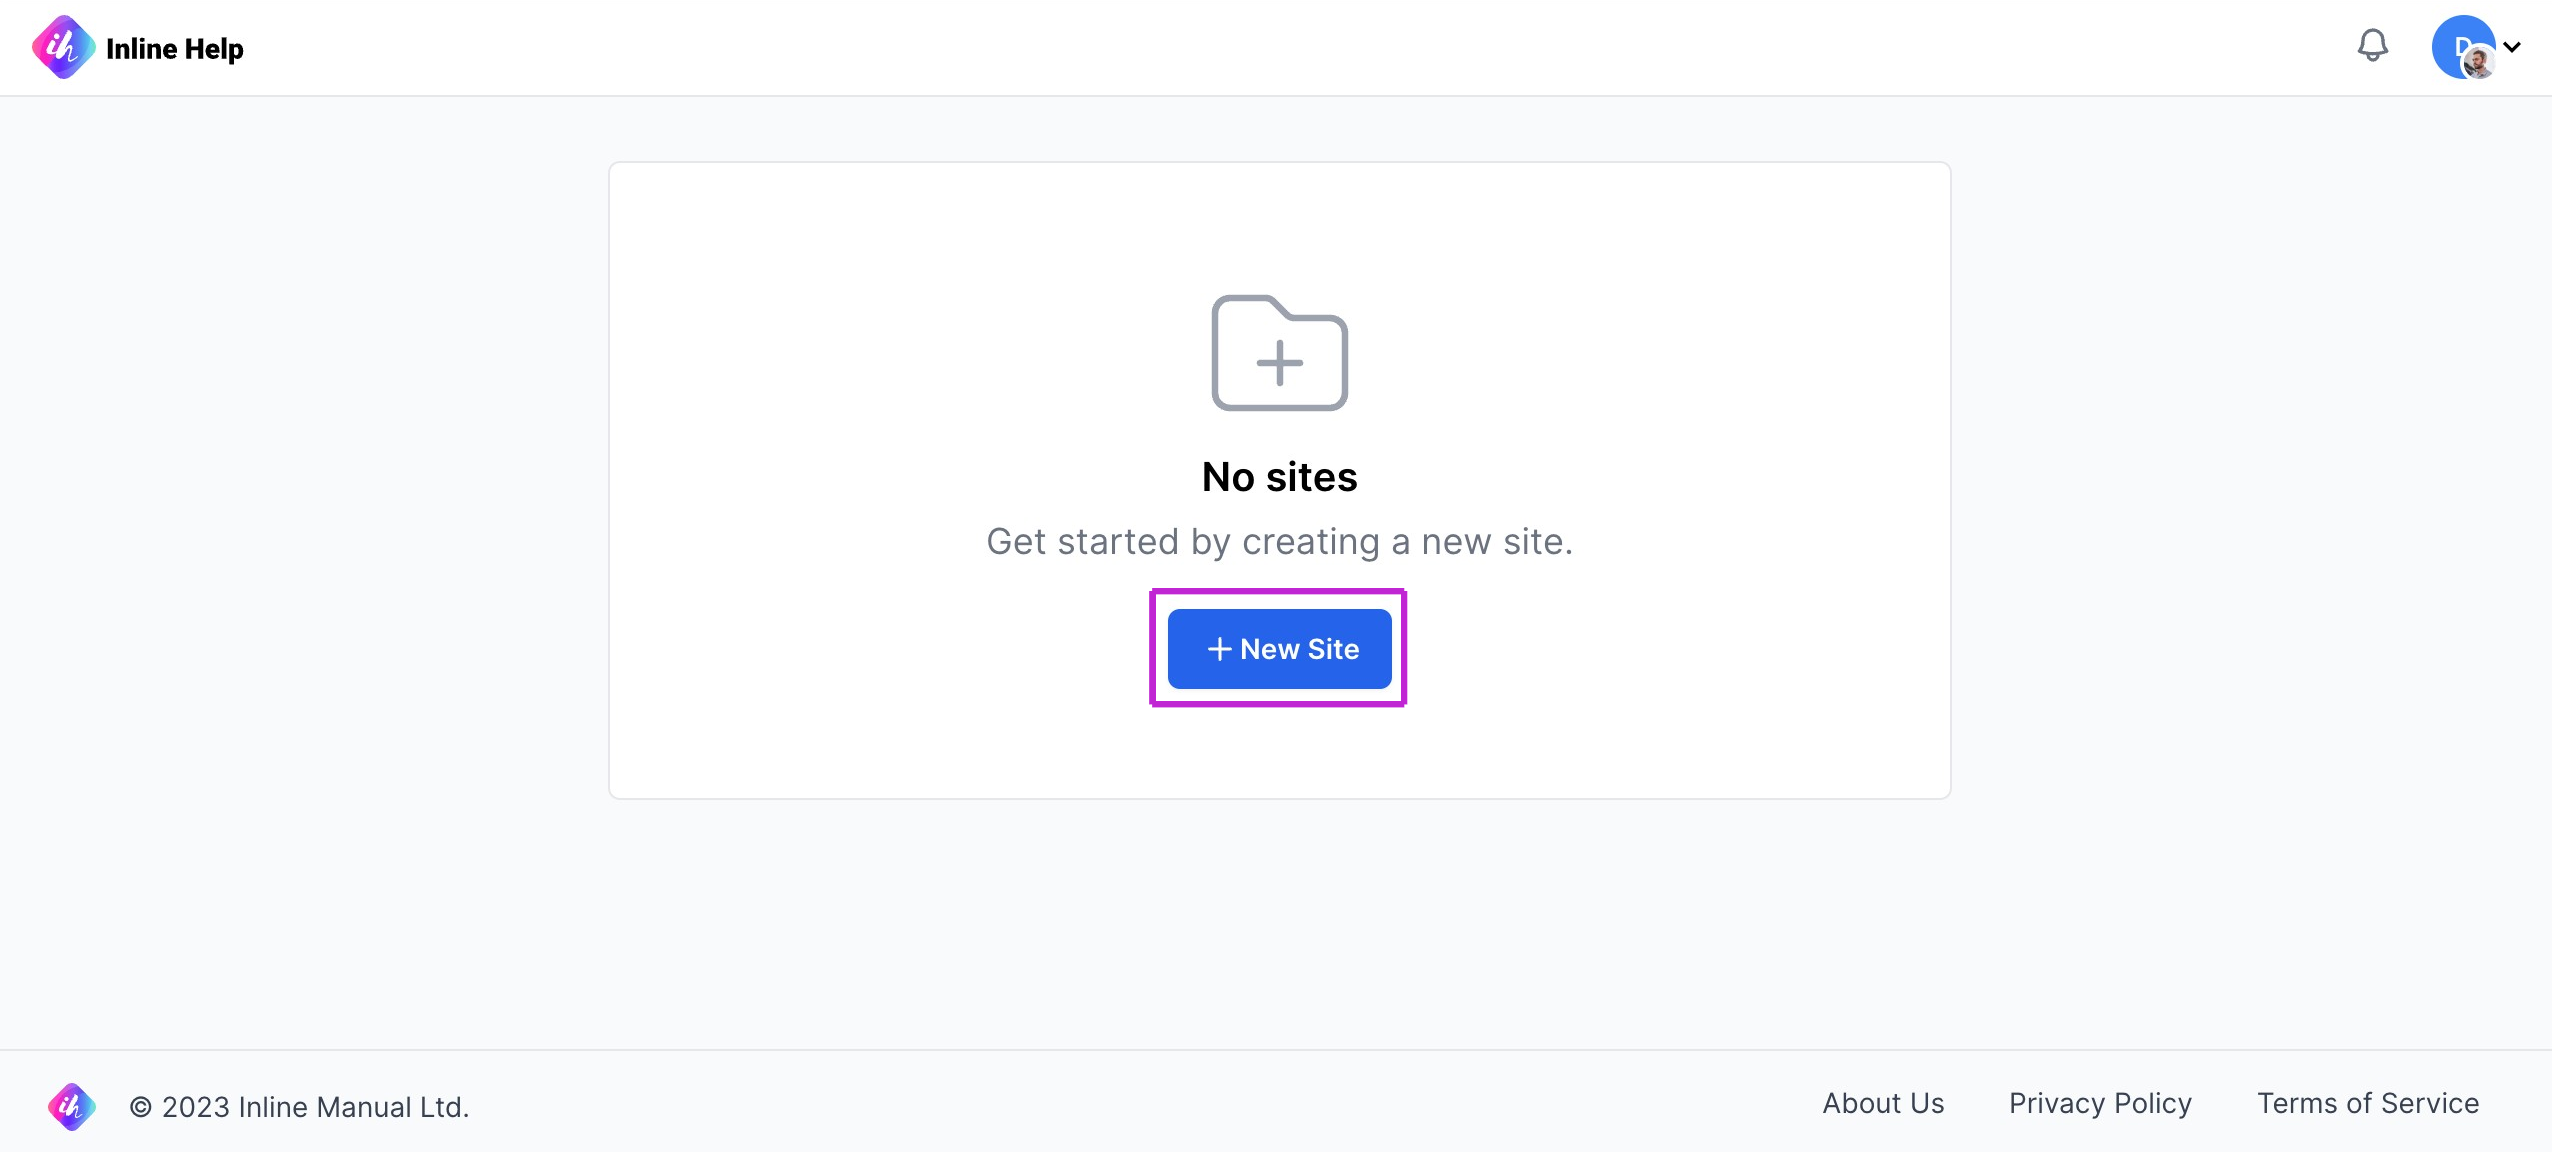
Start by navigating to your Dashboard. This is your control panel where you can manage all your sites.
Initiate New Site Creation:
Once in the Dashboard, look for the “+ New Site” button. This is usually located prominently within the interface. Click this button to begin creating your new site.
For Users With an Existing Site
Site Selector:
If you already have a site, click on the Site selector dropdown. This dropdown is typically located at the top of your Dashboard.

Create a New Site:
In the dropdown menu, select the “+ Create new Site” option. This will take you to the new site creation process.

Filling Out the New Site Form
Once you've initiated the creation of a new site, you'll be presented with the New Site form. 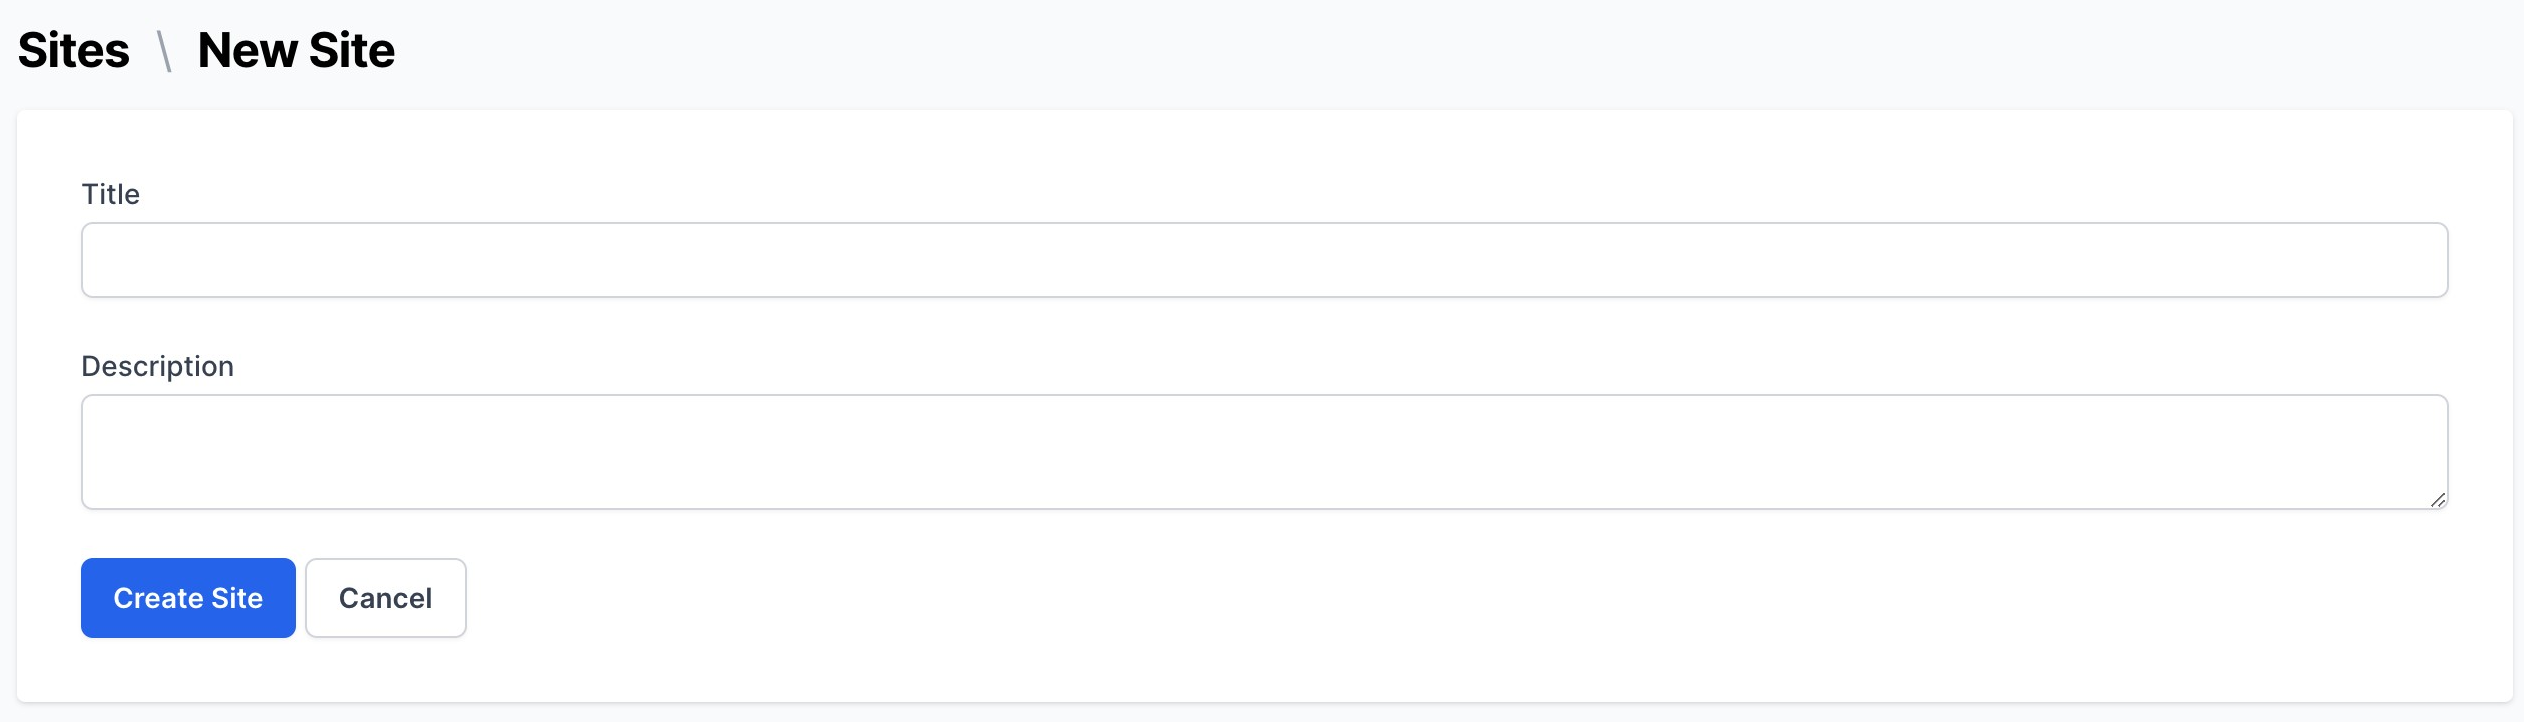
Here’s how to complete it:
Title of the Site:
Enter a title for your new site in the provided field.
Tip: Choose a title that clearly reflects the essence or function of your site.
Site Description:
In the description field, provide a concise summary of your site.
Tip: A good description helps others understand the purpose and content of your site.
Finalizing the Creation Process
Create Your Site:
Once you've filled in the details, click the "Create Site" button to finalize the creation of your new site.
Canceling the Process:
If you change your mind or need to correct something, you can click the "Cancel" button at any time to stop the process and return to the Dashboard.
Was this article helpful?
That’s Great!
Thank you for your feedback
Sorry! We couldn't be helpful
Thank you for your feedback
Feedback sent
We appreciate your effort and will try to fix the article